-
Spring Study 2주차 ~ 5장BackEnd/Spring 2022. 4. 6. 04:51
Chap 5
스프링 시큐리티와 OAuth 2.0으로 로그인 기능 구현하기
✅ OAuth란 무엇이고 어떤 장점이 있는가?
- 직접 내장된 로그인 등의 인증방식을 구현하는 것이 아닌, 다른 서비스로부터 인증과 권한을 받는것을 의미
- 사용자는 제3의 서비스에 본인의 민감한 정보를 제공하지 않고 가입할 수 있음
- 서비스 제공자는 인증을 다른 기관(네이버, 구글, 페이스북 등등)에 양도할 수 있어서 편리
✅ 작동 방식은?
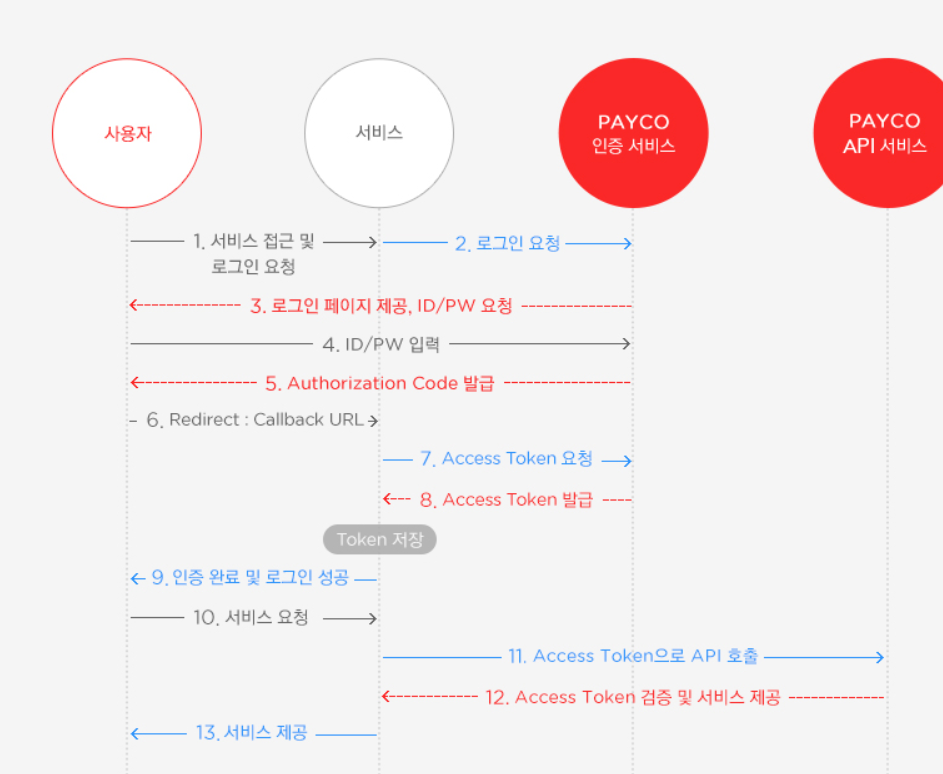
출처 : https://developers.payco.com/guide/development/start 위 그림처럼 Access Token을 통해 인증한다. JWT 토큰이랑 차이점이 궁금해져서 좀 찾아봤는데, jwt토큰에는 암호화된 정보들이 포함이 되어있다. 여기는 그냥 단순 토큰이다.
✅ 먼저 구글 로그인을 사용해보기 위한 작업을 수행해보자
- googleCloudPlatform 사이트에서 프로젝트 등록과 OAuth 인증을 한다.
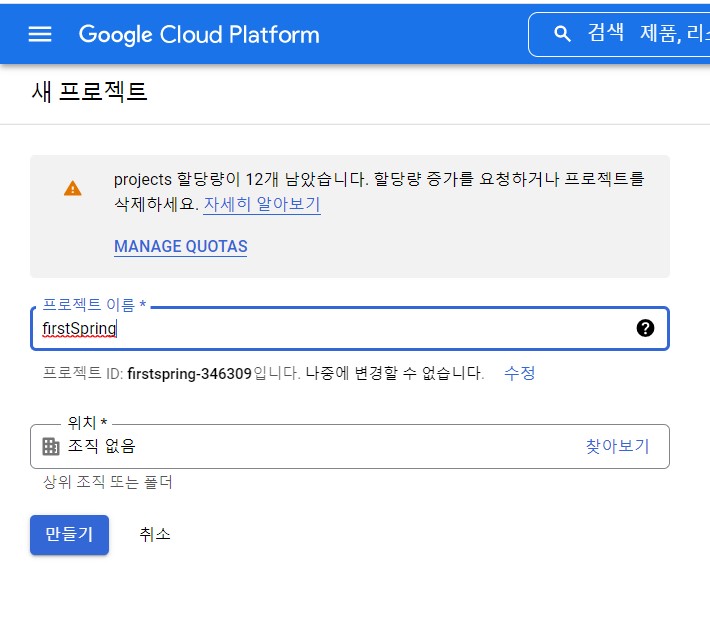


2번째 사진까지 진행하고 OAuth2.0 클라이언트 등록을 통해 ID와 비밀번호를 생성한다. 생성한 정보를 프로젝트에 입력하면 되는데, ❗❗ 깃허브에 올라가지 않도록 꼭 주의할것 ❗❗
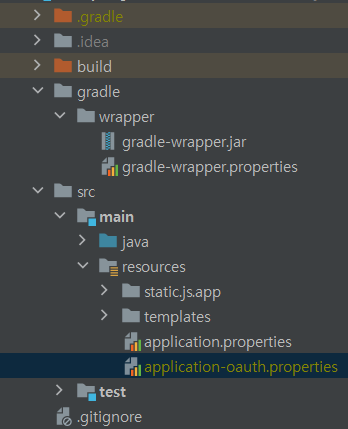
📌 application-oauth.properties 파일을 생성하고 gitignore에 "application-oauth.properties" 추가해준다.
* ) 만약 github에서 gitignore을 제대로 인지하지 않을 경우 다음 명령어로 캐시를 삭제후 다시 status를 확인해보자
$ git rm -r --cached .
$ git rm -r -f --cached . // 강제로 내리려면 -f (force)옵션 추가
$ git status // status확인, gitignore에 올라간 파일이 없는지 확인후 커밋
📌 application-oauth.properties
spring.security.oauth2.client.registration.google.client-id="아이디 입력"
spring.security.oauth2.client.registration.google.client-secret="비밀번호 입력"
spring.security.oauth2.client.registration.google.scope=profile,email
📌 User.java(domain 패키지)
package firstSpring.practice.practice.domain.user; import firstSpring.practice.practice.domain.BaseTimeEntity; import lombok.Builder; import lombok.Getter; import lombok.NoArgsConstructor; import javax.persistence.Column; import javax.persistence.Entity; import javax.persistence.EnumType; import javax.persistence.Enumerated; import javax.persistence.GeneratedValue; import javax.persistence.GenerationType; import javax.persistence.Id; @Getter @NoArgsConstructor @Entity public class User extends BaseTimeEntity { @Id @GeneratedValue(strategy = GenerationType.IDENTITY) private Long id; @Column(nullable = false) private String name; @Column(nullable = false) private String email; @Column private String picture; @Enumerated(EnumType.STRING) @Column(nullable = false) private Role role; @Builder public User(String name, String email, String picture, Role role) { this.name = name; this.email = email; this.picture = picture; this.role = role; } public User update(String name, String picture) { this.name = name; this.picture = picture; return this; } public String getRoleKey() { return this.role.getKey(); } }Enumerated(EnumType.STRING)📌 JPA로 데이터베이스로 저장할때 Enum값을 어떤 형태로 저장할지 표기해준다. 기본은 int형이지만, STRING으로 저장.
package firstSpring.practice.practice.domain.user;
import lombok.Getter;
import lombok.RequiredArgsConstructor;

@Getter
@RequiredArgsConstructor
public enum Role {
    GUEST("ROLE_GUEST", "손님"),
    USER("ROLE_USER", "일반 사용자");

    private final String key;
    private final String title;
}
📌 사용자의 권한을 관리할 ENUM 클래스, Role.java
📌 Spring Security에서는 권한 코드에 항상 ROLE_이 앞에 있어야 한다.
package firstSpring.practice.practice.domain.user;
import org.springframework.data.jpa.repository.JpaRepository;
import java.util.Optional;

public interface UserRepository extends JpaRepository<User, Long> {
    Optional<User> findByEmail(String email); // 이미 생성된 사용자인지, 처음 가입하는 자인지 판별을 위한 메소드
}
📌 User의 CRUD를 책임질 UserRepository
implementation('org.springframework.boot:spring-boot-starter-oauth2-client')
implementation ('org.springframework.boot:spring-boot-starter-security')
📌 스프링 시큐리티 관련 의존성 추가, 위 코드는 소셜 기능 구현시 필요한 의존성
📌 책에는 저 2번째 줄이 빠져있었는데, 저걸 안치면 빨간 줄 생기면서 framework.security는 사용이 안되었다. 구글링해서 찾은 저 줄도 gradle에 입력
package firstSpring.practice.practice.config.auth;
import firstSpring.practice.practice.domain.user.Role;
import lombok.RequiredArgsConstructor;
import org.springframework.security.config.annotation.web.builders.HttpSecurity;
import org.springframework.security.config.annotation.web.configuration.EnableWebSecurity;
import org.springframework.security.config.annotation.web.configuration.WebSecurityConfigurerAdapter;

@RequiredArgsConstructor
@EnableWebSecurity // security 설정 활성화
public class SecurityConfig extends WebSecurityConfigurerAdapter{
    private final CustomOAuth2UserService customOAuth2UserService;

    @Override
    protected void configure (HttpSecurity http) throws Exception {
        http.csrf().disable().headers().frameOptions().disable()// h2-console 화면 사용을 위한 옵션 disable
                .and()
                .authorizeRequests()// URL 별 권한 관리 설정 옵션의 시작점!
                .antMatchers("/", "/css/**", "/images/**", "/js/**", "/h2-console/**").permitAll() // permitAll : 전체 열람 권한
                .antMatchers("/api/v1/**").hasRole(Role.USER.name()) //USER 권한 가진 사람만 열람 가능
                .anyRequest().authenticated() // 나머지 URL ~ 모두 인증된(로그인된) 사용자들만 이용 가능하게
                .and()
                .logout()
                .logoutSuccessUrl("/") // 로그아웃 성공시 "/"로 이동
                .and()
                .oauth2Login()//로그인 기능 진입점
                .userInfoEndpoint() // 사용자 정보 가져올 때의 설정
                .userService(customOAuth2UserService); // 로그인 성공 이후 진행할 인터페이스 구현체 등록
    }
}
📌 OAuthAttributes
package firstSpring.practice.practice.config.auth.dto;
import firstSpring.practice.practice.domain.user.Role;
import firstSpring.practice.practice.domain.user.User;
import lombok.Builder;
import lombok.Getter;

import java.util.Map;

@Getter
public class OAuthAttributes {
    private Map <String, Object> attributes;
    private String nameAttributeKey;
    private String name;
    private String email;
    private String picture;

    @Builder
    public OAuthAttributes(Map<String, Object> attributes, String nameAttributeKey, String name, String email,String picture) {
        this.attributes = attributes;
        this.nameAttributeKey = nameAttributeKey;
        this.name = name;
        this.email = email;
        this.picture = picture;
    }

    public static OAuthAttributes of(String registrationId, String userNameAttributeName, Map<String, Object> attributes) {
        if ("naver".equals(registrationId)) {
            return ofNaver("id", attributes);
        }
        return ofGoogle(userNameAttributeName, attributes);
    }

    private static OAuthAttributes ofGoogle(String userNameAttributeName, Map<String, Object> attributes) {
        return OAuthAttributes.builder()
                .name((String) attributes.get("name"))
                .email((String) attributes.get("email"))
                .picture((String) attributes.get("picture"))
                .attributes(attributes)
                .nameAttributeKey(userNameAttributeName)
                .build();
    }

    private static OAuthAttributes ofNaver(String userNameAttributeName, Map<String, Object> attributes) {
        Map<String, Object> response = (Map<String, Object>)attributes.get("response");
        return OAuthAttributes.builder()
                .name((String) response.get("name"))
                .email((String) response.get("email"))
                .picture((String) response.get("profile_image"))
                .attributes(response)
                .nameAttributeKey(userNameAttributeName)
                .build();
    }
    // ENTITY 생성, 처음 가입할 때 생성된다. 기본 권한은 GUEST
    public User toEntity() {
        return User.builder()
                .name(name)
                .email(email)
                .picture(picture)
                .role(Role.GUEST)
                .build();
    }
}
📌 SessionUser
package firstSpring.practice.practice.config.auth.dto;

import firstSpring.practice.practice.domain.user.User;
import lombok.Getter;
import java.io.Serializable;

@Getter
public class SessionUser implements Serializable {
    private String name;
    private String email;
    private String picture;

    public SessionUser (User user) {
        this.name = user.getName();
        this.email = user.getEmail();
        this.picture = user.getPicture();
    }
}
✅ 왜 User클래스 대신 SessionUser을 사용하였나?
- User은 엔티티 클래스. User클래스를 그대로 사용하면, 여기에 직렬화를 구현하지 않았다는 의미의 에러가 등장한다.
- 자바 직렬화란 자바 시스템 내부에서 사용되는 객체 또는 데이터를 외부의 자바 시스템에서도 사용할 수 있도록 바이트(byte) 형태로 데이터 변환하는 기술과
바이트로 변환된 데이터를 다시 객체로 변환하는 기술(역직렬화)을 아울러서 이야기합니다. - 시스템적으로 이야기하자면 JVM(Java Virtual Machine 이하 JVM)의 메모리에 상주(힙 또는 스택)되어 있는 객체 데이터를 바이트 형태로 변환하는 기술과
직렬화된 바이트 형태의 데이터를 객체로 변환해서 JVM으로 상주시키는 형태를 같이 이야기합니다.
출처 : https://techblog.woowahan.com/2550/
- 부모 엔티티를 직렬화 시킬 경우 자식 엔티티 또한 함께 직렬화된다. 이러한 문제를 피하기 위해? 직렬화 기능을 가진 세션 DTO를 하나 추가로 만든것.
위 코드들과 머스태치 파일 수정 후 실행해보자.
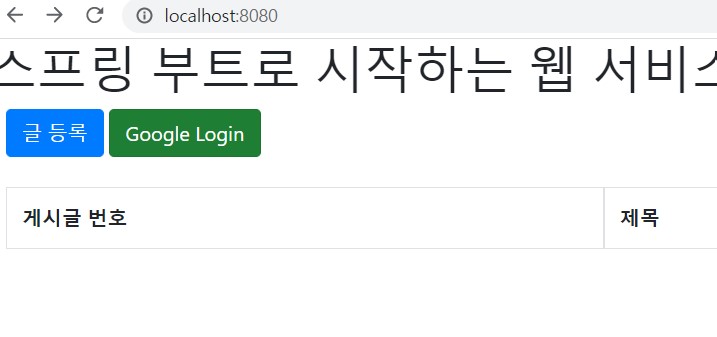
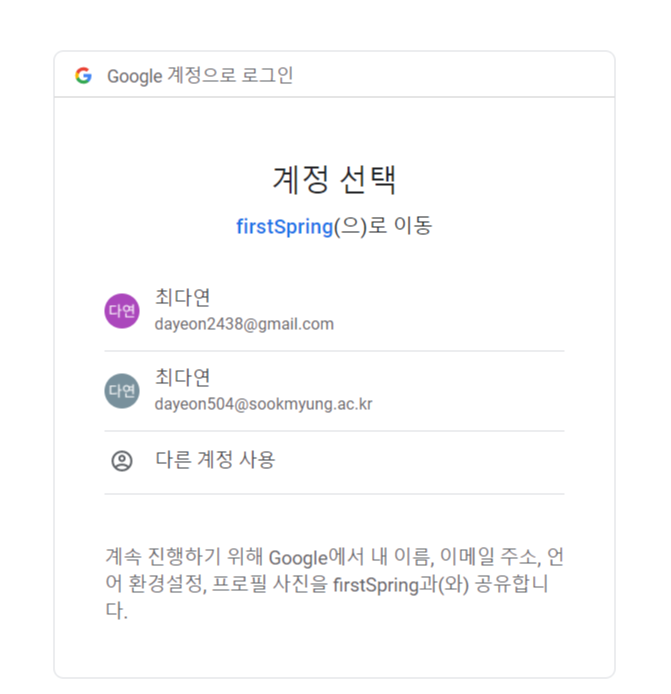
누르면 구글 로그인 창으로 잘 이동한다. ✅ 비슷하게 네이버 로그인도 추가!
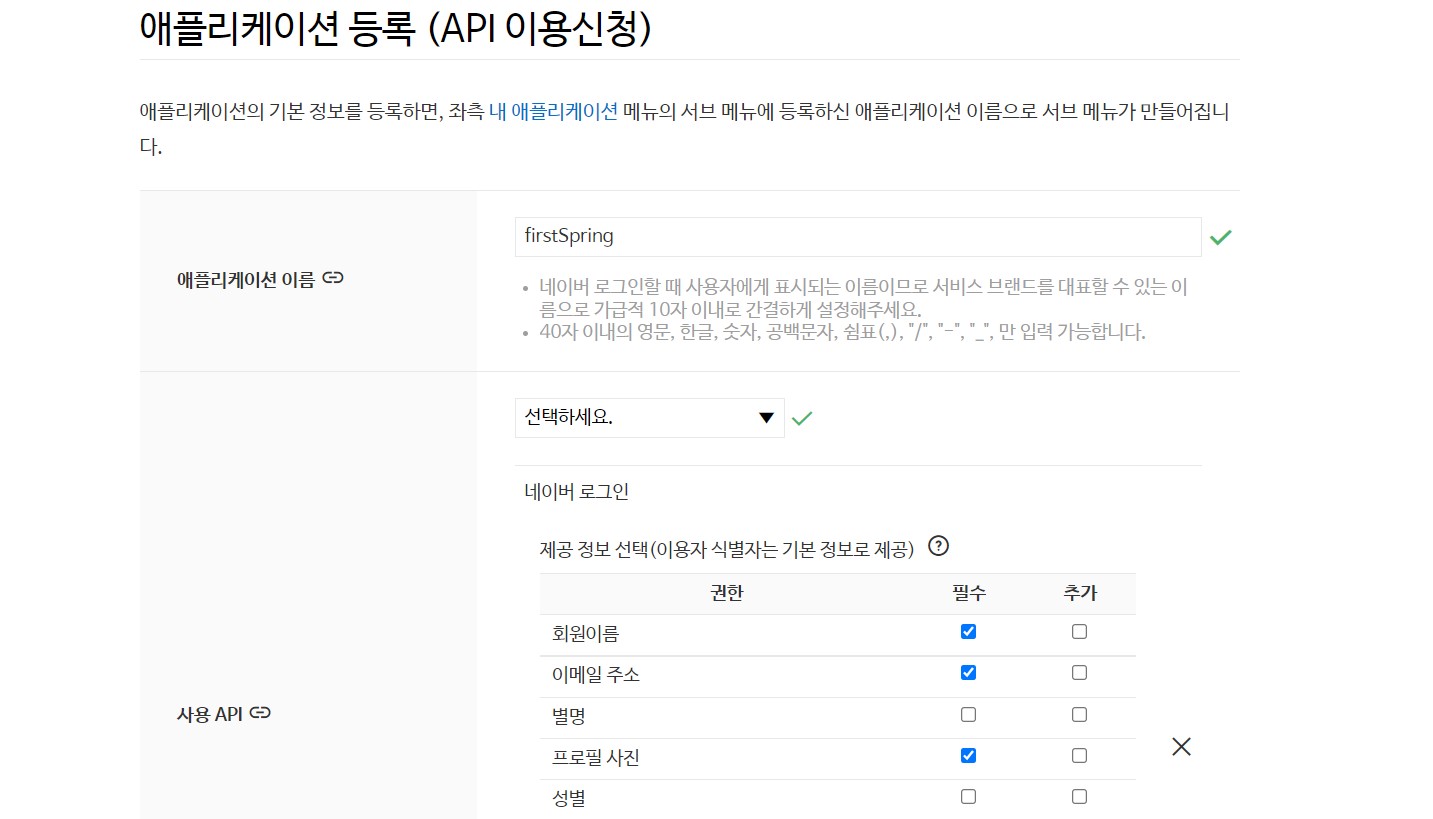
네이버 개발자 사이트 들어가서 애플리케이션 등록 ✅ 위에서 발급받은 네이버 클라이언트 ID, pw 등도 application-oauth.properties에 넣어주어야 한다. 값들을 다 넣어주고 네이버 생성자 추가
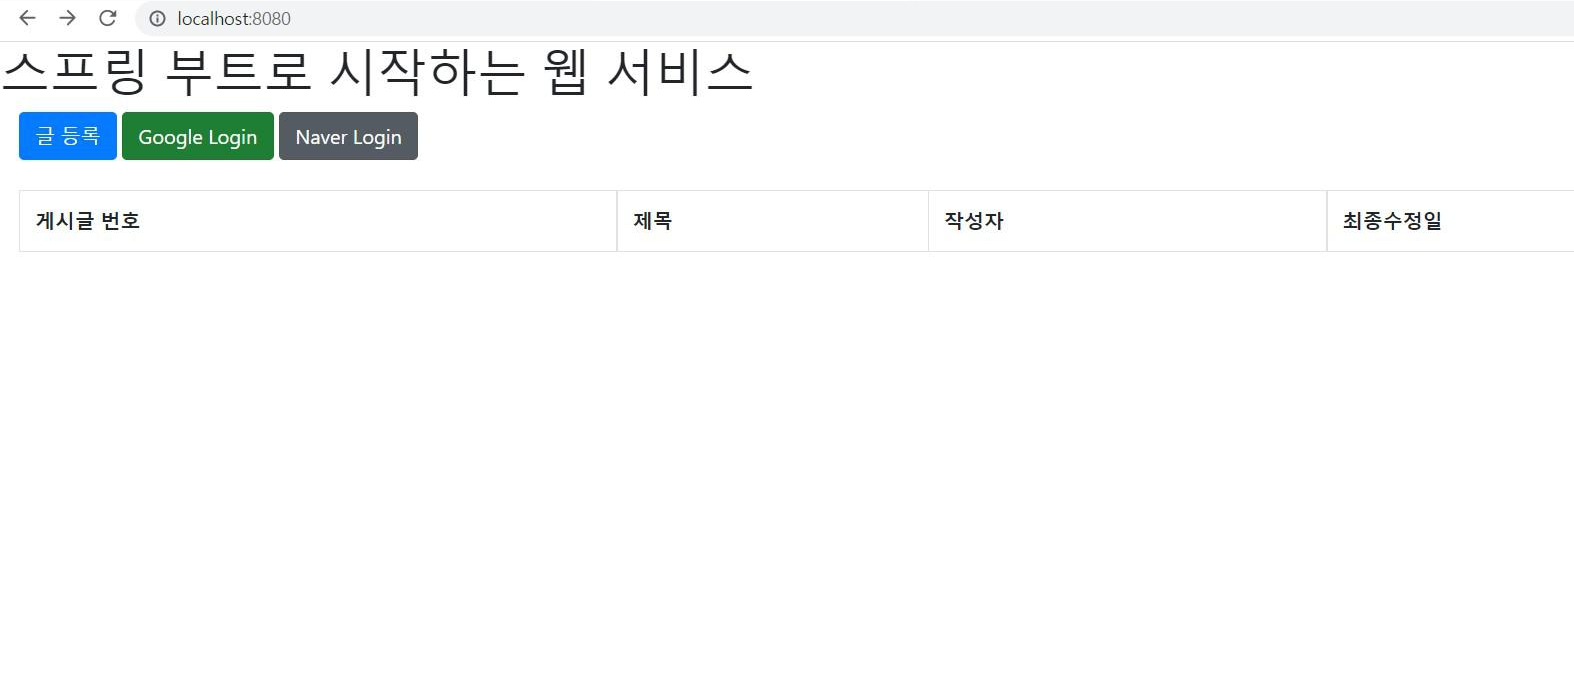
✅ index.mustache도 네이버 로그인 버튼 추가
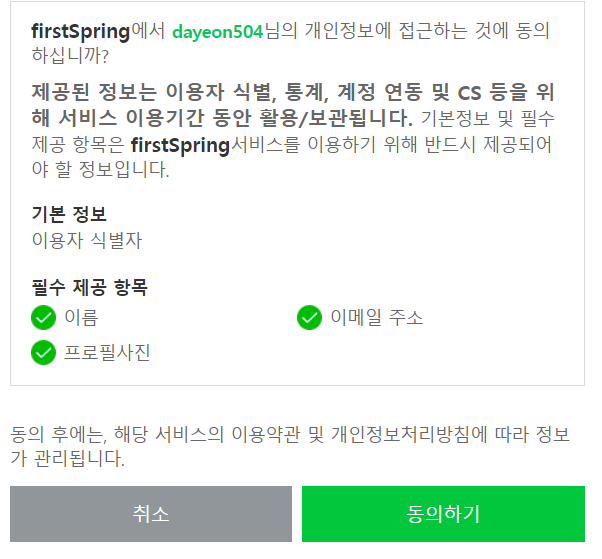
    public static OAuthAttributes of(String registrationId, String userNameAttributeName, Map<String, Object> attributes) {
        if ("naver".equals(registrationId)) {
            return ofNaver("id", attributes);
        }
        return ofGoogle(userNameAttributeName, attributes);
    }
    ...
        private static OAuthAttributes ofNaver(String userNameAttributeName, Map<String, Object> attributes) {
        Map<String, Object> response = (Map<String, Object>)attributes.get("response");
        return OAuthAttributes.builder()
                .name((String) response.get("name"))
                .email((String) response.get("email"))
                .picture((String) response.get("profile_image"))
                .attributes(response)
                .nameAttributeKey(userNameAttributeName)
                .build();
    }
❗ 다시 실행해보면 아래처럼 나온다.

'BackEnd > Spring' 카테고리의 다른 글
Spring 입문 강의 섹션 0 ~ 섹션 3 (0) 2022.07.29 Spring Study 3주차 8장 (0) 2022.05.01 Spring Study 2주차 ~ 6장, 7장 (0) 2022.04.07 Spring Study 1주차 ~ 4장 (0) 2022.03.31 Spring Study 1주차 ~ 2,3장 (0) 2022.03.30 - 자바 직렬화란 자바 시스템 내부에서 사용되는 객체 또는 데이터를 외부의 자바 시스템에서도 사용할 수 있도록 바이트(byte) 형태로 데이터 변환하는 기술과